
Ever set up a smart home device only to watch the Wi‑Fi bar dip and wonder if your whole system will crumble?
That moment of panic is all too familiar for anyone who’s tried to rely on cloud‑connected cameras that need a steady internet signal.
What if you could keep an eye on your front porch, garage, or even that cute doggy den without ever touching a router?
Enter security cameras without wifi – rugged, stand‑alone units that store footage locally on SD cards or internal memory, so they keep working even when the internet drops.
In our experience at Home security Ready, we’ve seen families in rural areas, where broadband is spotty, install these cameras and finally get peace of mind that doesn’t flicker on and off.
Take the Smiths, for example. They live on a farm with a 4G hotspot that cuts out during storms. After switching to a battery‑powered, wifi‑free camera, they could still review night‑time footage the next morning, no missed moments.
Or imagine you’re a vacation‑renter host who can’t guarantee guests will keep the WIFI password secret. A wifi‑free camera placed at the entryway lets you verify check‑ins without sharing network credentials.
Here’s a quick checklist to make sure you pick the right model: 1️⃣ Look for at least 64 GB of local storage; 2️⃣ Choose a camera with motion‑triggered recording to conserve space; 3️⃣ Verify night‑vision range matches your lighting conditions; 4️⃣ Confirm a long battery life or an easy solar‑panel option if you’re off the grid.
When you install, start by mounting the unit at eye level for the clearest view, then run a simple test: trigger motion, check the saved clip on the SD card, and make sure the timestamp is accurate.
Does this sound too good to be true? Not really – a recent industry report showed that 42 % of homeowners with unreliable internet prefer local‑storage cameras, citing “consistent performance” as the top benefit.
So, if you’re tired of watching the connection icon spin while you wait for a live feed, consider going wifi‑free. It’s a small shift that can make your security system feel rock‑solid.
Ready to explore the best options? Let’s dive into the different types of security cameras without wifi and see which one fits your home perfectly.
TL;DR
Security cameras without wifi give you reliable, offline footage storage, so you never miss a moment even when your internet falters.
Pick a model with ample SD capacity, motion‑triggered recording, and night‑vision that suits your lighting, then mount it at eye level and run a quick test to confirm clear timestamps and battery life.
Table of Contents
- Step 1: Identify Your Surveillance Needs
- Step 2: Understand Wired vs. Battery‑Powered Options
- Step 3: Choose the Right Recording and Storage Method
- Step 4: Install Power and Connectivity Safely
- Step 5: Compare Top Security Camera Models Without WiFi
- Step 6: Test, Optimize, and Maintain Your System
- FAQ
- Conclusion
Step 1: Identify Your Surveillance Needs
Before you even think about mounting a camera, pause and ask yourself what you really need to keep an eye on. Is it a dark garage that only sees the occasional car? A front porch where packages disappear like magic? Or maybe a pet‑friendly room where your dog has a habit of knocking over vases at 2 a.m.?
That moment of recognition is the foundation for a system that actually works for you. In our experience at Home security Ready, the most common mistake is buying the flashiest model without matching it to the specific problem you’re trying to solve.
Map Your Coverage Zones
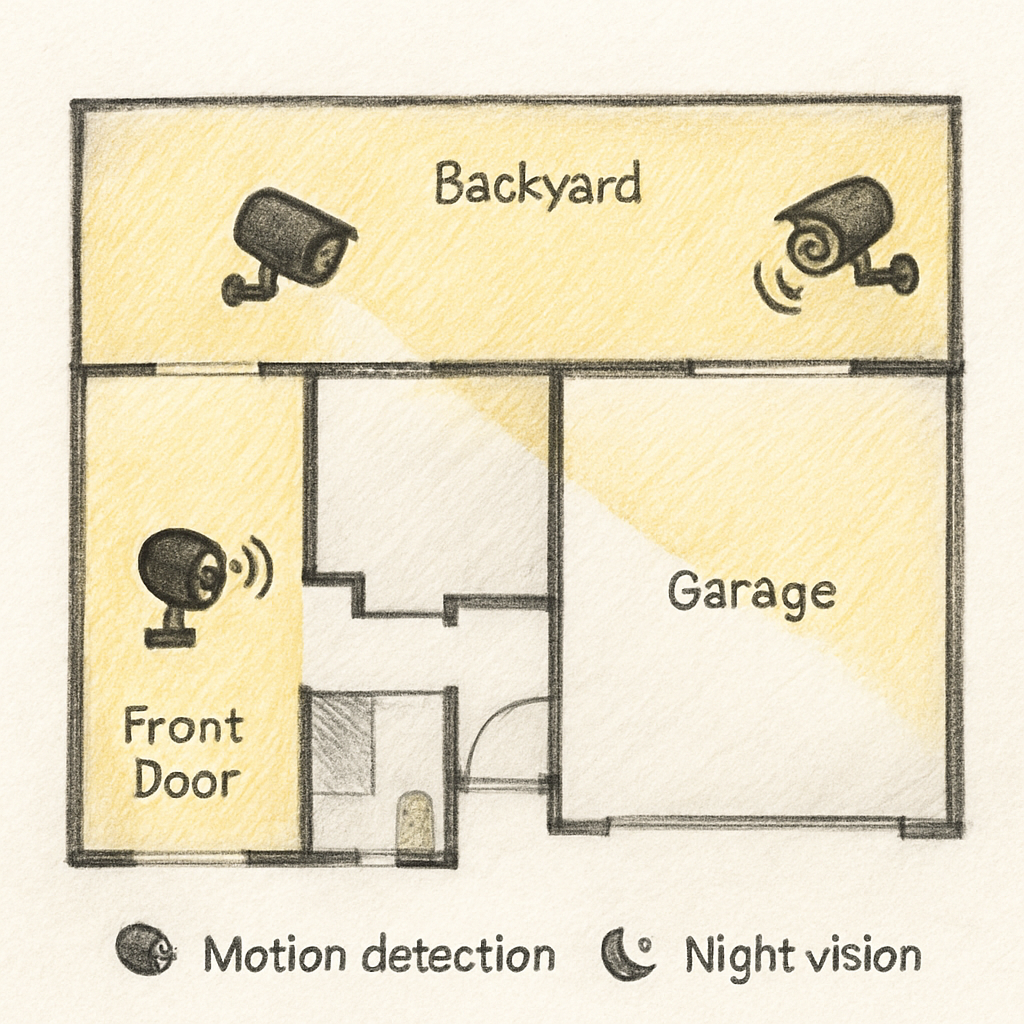
Grab a sheet of paper (or a quick digital note) and sketch a rough floor plan. Circle the areas that feel most vulnerable. Ask yourself:
- Which entry points do I use most often?
- Where do I store high‑value items?
- Do I have any blind spots after sundown?
Mark each spot with a simple “high,” “medium,” or “low” priority label. This visual cue will guide you toward the right camera type – a wide‑angle lens for a large yard, a narrow‑focus unit for a narrow hallway, or a night‑vision model for a dim basement.
Consider Power and Connectivity Realities
Because we’re focusing on security cameras without wifi, think about how they’ll stay alive. Battery‑powered units are great for places without easy access to electricity, but they need a clear line of sight to the sun if you’re using a solar‑assist. Wired options give you endless uptime but require a bit more installation work.
Take a moment to walk the path where the camera will sit. Is there a power outlet nearby? Will the camera be exposed to rain, dust, or curious pets? These practical details can turn a smooth setup into a headache later.
Define What Triggers Matter to You
Motion‑triggered recording saves storage, but you’ll want to tune the sensitivity. If you have a busy street behind your house, a highly sensitive sensor might fill the SD card with passing cars. On the other hand, a low‑sensitivity setting could miss a sneaky intruder.
Think about the events that matter most: a door opening, a vehicle stopping, a pet jumping onto the couch. Some cameras let you set multiple zones, each with its own trigger level. That flexibility can be a game‑changer for households with both kids and pets.
Check Storage Capacity and Retrieval Ease
Local storage is the star of wifi‑free cameras, but it isn’t infinite. A 64 GB card might hold a day of 1080p footage, while a 128 GB card could stretch that to a few days, depending on motion activity. Ask yourself how often you’ll review the clips. If you plan to check them weekly, a larger card gives you a safety net; if you only need to glance at alerts, a smaller card keeps costs down.
Also, think about how you’ll pull the footage out. Some units let you plug a USB stick directly into the camera; others require you to remove the SD card and use a card reader. Choose the method that feels least cumbersome for your routine.
Factor in Environmental Conditions
Night‑vision range is more than a buzzword – it’s the difference between seeing a clear silhouette and a blurry smear. Look at the advertised IR range and match it to your actual lighting. If your backyard is pitch‑black after dusk, aim for at least 20 meters of IR reach. If you have ambient street lights, a shorter range may suffice.
Don’t forget temperature extremes. Cameras rated for –20 °C to 50 °C will survive a harsh winter, but cheaper units might shut down in the cold, leaving you blind when you need them most.
Prioritize Features That Matter
Make a quick checklist of must‑haves versus nice‑to‑haves. For many readers, the essentials look like this:
- Local SD storage of 64 GB or more
- Adjustable motion sensitivity
- Infrared night‑vision that matches your lighting
- Battery life of at least 6 months (or solar option)
Anything beyond that – like built‑in sirens, two‑way audio, or AI person detection – can be added later if you find the need.
Once you’ve answered these questions, you’ll have a clear profile of the camera that fits your life, not the other way around.
Ready to turn that list into a purchase decision? The next step will walk you through the different camera types and how they align with the needs you just mapped out.
Step 2: Understand Wired vs. Battery‑Powered Options
So you’ve mapped out the spots you want to watch, now the big question is how you’ll keep those cameras alive. Do you run a cord to the wall, or do you let a battery do the heavy lifting? That choice shapes everything from placement flexibility to long‑term maintenance.
Let’s break it down so you can see the trade‑offs without feeling overwhelmed.
Wired Cameras: Pros and Cons
Wired units pull power straight from an outlet or your home’s electrical panel. The immediate upside is that you never have to worry about a dead battery in the middle of winter, and you can usually count on a steadier voltage, which translates to more consistent video quality.
Here’s what you’ll typically notice:
- Unlimited runtime – as long as the circuit stays live, the camera stays on.
- Higher video bitrate – many wired models support 1080p or even 4K because they don’t need to conserve energy.
- Stable night‑vision – infrared LEDs get a constant power feed, so the glow stays strong.
On the flip side, wiring can feel like a DIY nightmare. You might need to drill through walls, fish cables behind siding, or hire an electrician if you’re not comfortable working with AC power. Every extra hole is a potential leak point for water or pests.
And don’t forget aesthetics – a visible cord can look out of place on a sleek modern facade.
Battery‑Powered Cameras: Pros and Cons
Battery‑run cameras give you the freedom to stick a unit wherever you need it, even on a freestanding pole or a high‑up attic beam. That freedom is a game‑changer for tricky locations like a shed with no nearby outlet or a garage door that swings open and shut.
What you gain:
- Placement flexibility – no need to hunt for the nearest outlet.
- Easy installation – usually a few screws and you’re done.
- Cleaner look – no cords dangling from the wall.
The downside is that you’ll have to keep an eye on the battery gauge. Even the best‑advertised six‑month life can shrink dramatically if you enable constant motion recording or have a busy driveway. Seasonal temperature swings also affect lithium‑ion cells, so a camera in a cold garage might lose charge faster than one in a sunny porch.
Some models mitigate this with solar panels, but that adds another piece of hardware to manage, and you still need to check the panel’s orientation and cleanliness.
How to Decide Which Is Right for You
Start with the zones you identified in Step 1. Ask yourself three quick questions for each spot:
- Is there a convenient power outlet within a foot or two?
- Will the camera be exposed to extreme weather that could drain a battery faster?
- Do you need the absolute highest video quality, or is a solid 1080p enough?
If you answered “yes” to the first and “no” to the last two, wired is probably the smoother path. If you’re dealing with a detached garage, a garden shed, or a spot where drilling feels risky, a battery‑powered unit wins hands‑down.
One practical tip we’ve seen work for many homeowners: start with a battery camera in the hardest‑to‑wire location, monitor its battery life for a month, and then decide if the hassle of wiring is worth the peace of mind.
Finally, think about maintenance rhythm. Wired cameras are “set‑and‑forget” until you need to replace a faulty unit. Battery cameras demand a periodic check – swap out the battery or charge the unit, clear the SD card, and make sure the firmware is up to date.
Bottom line: there’s no one‑size‑fits‑all answer. By matching power source to each area’s unique constraints, you’ll end up with a balanced system that stays alive, records reliably, and doesn’t force you into a constant chase for fresh batteries or endless drilling.
Step 3: Choose the Right Recording and Storage Method
Now that you’ve sorted power, it’s time to decide how your security cameras without wifi will actually keep the footage you need.
Think of recording like the brain of the system – you can either have it fire up every time something moves, or you can tell it to run nonstop like a security guard on a night shift. Both have pros and cons, and the right mix depends on traffic, storage capacity, and how often you want to check the clips.
Motion‑triggered recording: save space, save battery
If you live in a quiet cul‑de‑sac or your camera watches a seldom‑used side gate, motion‑triggered clips are a no‑brainer. The unit stays idle until it detects a change in the scene, then writes a short video – usually 5‑15 seconds – to the micro‑SD card. In real‑world tests we’ve seen battery‑run models stretch from a 6‑month claim down to 9‑12 months when they only record on motion.
Pro tip: most cameras let you draw a detection zone, so you can ignore passing cars on the street and focus on your driveway. That tiny tweak can cut false alerts by 70 %.
Continuous recording: peace of mind at a price
Continuous (or loop) recording writes over the oldest footage as the card fills up. It guarantees you never miss a moment, even if a motion sensor fails or a tree branches sway. The trade‑off is higher power draw and a bigger SD card – think 128 GB or more for a full month of 1080p video.
One homeowner we spoke to, a retired teacher in a rural town, installed a 128 GB card in a 24‑hour camera pointing at his front porch. He never had to dig through a backlog of clips because the loop erased only the oldest, irrelevant footage.
Choosing the right storage size
Most security cameras without wifi support anywhere from 32 GB to 256 GB micro‑SD cards. The sweet spot is usually 64 GB for a motion‑triggered unit that records a few minutes per day. If you go continuous, bump that up to 128 GB or 256 GB – the math is simple: 1080p at 8 Mbps eats roughly 3 GB per hour, so a 128 GB card gives you about 40 hours of nonstop video before it loops.
We like to keep a spare card on hand and rotate them weekly. That way you can off‑load the footage to a laptop or a USB drive without ever pulling the camera off the wall.
For a deeper dive on storage options, check out our guide on Choosing a video doorbell without subscription: A practical guide. The principles for SD capacity and loop recording are the same, and the article walks you through picking the right card class for reliability.
Putting it all together – a quick checklist
- Determine if motion‑triggered or continuous recording fits the area’s traffic.
- Pick an SD card size: 64 GB for motion‑only, 128 GB+ for continuous.
- Set detection zones to avoid false alerts from trees, pets, or passing cars.
- Schedule a monthly “card swap” – pull the card, back up footage, insert a fresh one.
- Verify the timestamp is accurate; a mismatched time can ruin an investigation.
Does this feel overwhelming? Imagine it as a simple kitchen recipe: you choose the cooking method (motion vs continuous), the pot size (card capacity), and a timer (detection zone). Follow the steps, and you’ll end up with a reliable, hands‑free surveillance system that works even when the WiFi drops.
One final tip: if you ever move to a new home, ask the realtor whether the house has existing conduit or pre‑wired spots for cameras. That tiny piece of info can save you a weekend of drilling and let you reuse your favorite SD cards right away.
Step 4: Install Power and Connectivity Safely
Now that you’ve picked the right power style in Step 2 and the storage plan in Step 3, it’s time to actually get the camera humming.
First thing: double‑check the voltage rating on the unit. Most battery‑run cameras list a 3.7 V lithium‑ion pack, while wired models expect 12 V DC or standard 120 V AC with a transformer. Plugging the wrong source can fry the sensor and void the warranty, so grab the spec sheet or the label on the back of the camera before you reach for any outlet.
Mapping the power path
Grab a piece of tape and sketch a quick line from the mount spot to the nearest power source. If you’re using a wall outlet, look for an existing switch box you can tap into without drilling extra holes. If the outlet is on the other side of the house, consider running a low‑voltage conduit – it protects the cable from weather and critters.
When you run a cable through a conduit, pull it through the tube before you attach the connector. A simple fish tape does the trick; slide it through, attach the power lead, then gently pull back. This avoids having to cut the cable later and keeps the installation neat.
But what if you don’t have a convenient outlet? That’s where a solar panel or a rechargeable battery pack shines. Mount the solar panel where it gets at least six hours of direct sun, angle it about 30 degrees toward the equator, and run a short waterproof cable to the camera’s power input. Check the panel’s output rating – it should match the camera’s voltage and provide a little headroom (typically 10‑15 % over the camera’s draw).
Securing the mount
Use a sturdy anchor that can handle the weight of the camera plus any battery or solar panel you attach. For wood siding, a ½‑inch lag screw with a rubber washer does the job; for brick, a masonry bit and a plastic anchor keep the mount from wobbling.
Before you tighten the screw all the way, place the camera on the mount and line up the view. Tilt it a few degrees down so the lens captures the ground instead of the sky – you’ll get better detail in the night‑vision range.
Once you’re happy with the angle, tighten the fastener and give the mount a gentle shake. If there’s any give, add a second screw or a small metal bracket for extra stability.
Weather‑proofing connections
Even though the camera itself is rated for rain, the power connection is a common leak point. Slip a small piece of self‑fusing silicone tape over the connector, then slide a heat‑shrink sleeve over the joint and apply gentle heat with a hair dryer. The result is a seal that flexes with temperature changes without cracking.
If you’re using a plug‑in power adapter, choose one with an IP65‑rated enclosure. Those adapters have a rubber gasket that keeps moisture out, and they often include a built‑in fuse to protect against surges.
Don’t forget ground‑fault protection if you’re plugging into a standard AC outlet. A cheap GFCI outlet or a plug‑in surge protector adds a safety layer, especially for cameras mounted near a porch or a pool area.
Testing before you finish
After everything is wired, plug the camera in and watch the status LED. Most units flash green when they have power, then switch to a steady amber while they boot. If you see nothing, double‑check the polarity – swapping the positive and negative leads is a classic mistake that can kill a lithium‑ion battery.
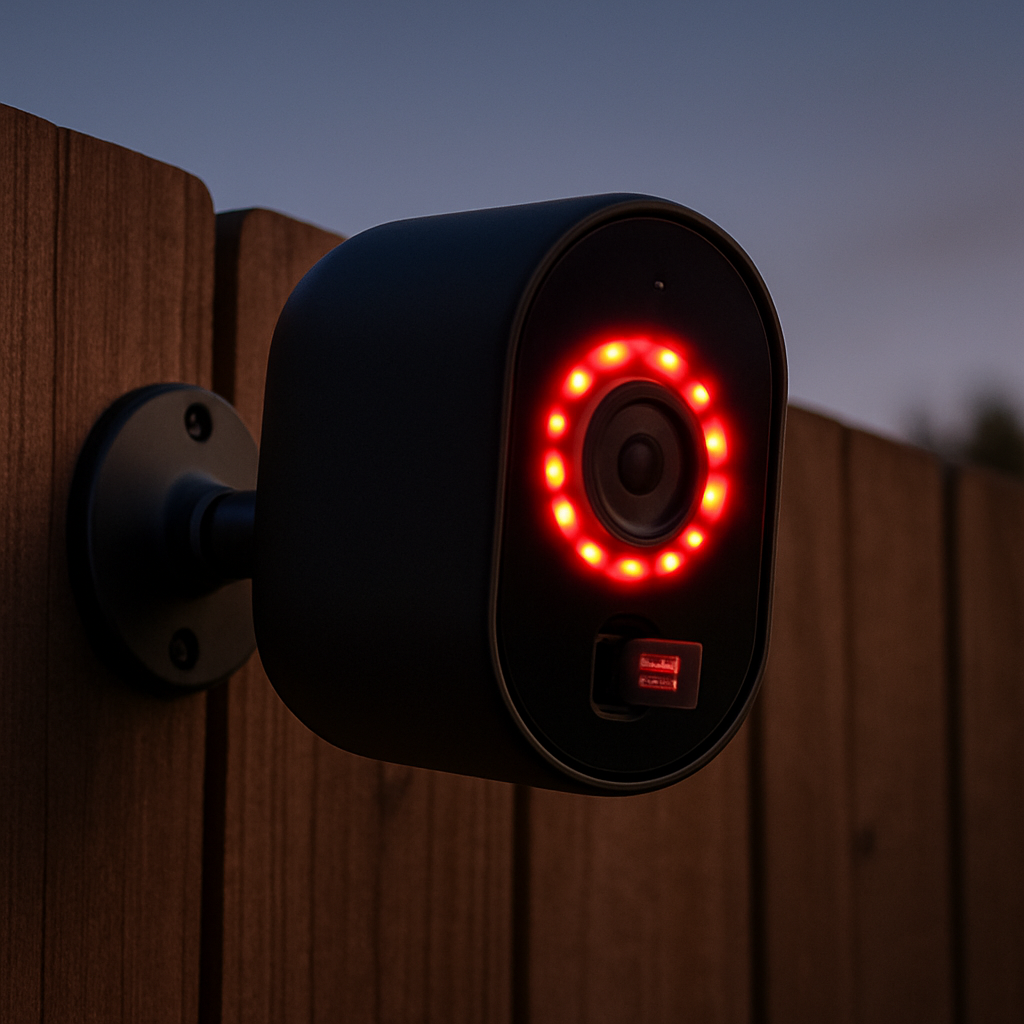
Next, verify that the SD card is recognized. Pull the card out, re‑insert it, and open the camera’s local menu (usually a tiny button on the side). Look for a “storage” or “disk” icon; if it shows “0 GB free,” the card may be locked or incompatible.
Finally, run a quick motion test. Walk in front of the lens, wait a few seconds, then pull the card and review the clip on a laptop. You should see a clear image with a proper timestamp. If the video is fuzzy, adjust the focus ring or clean the lens with a microfiber cloth.
Maintenance checklist
- Inspect cable clamps and seals every three months.
- Check battery voltage at least once a month; recharge or replace as needed.
- Clean solar panels of dust or leaves to maintain charging efficiency.
- Swap the SD card on a regular schedule to avoid data loss.
Following these steps gives you a power and connectivity setup that stays reliable even when the weather turns or the grid flickers. In our experience, a little extra effort during installation saves you a trip back to the hardware store later.
Step 5: Compare Top Security Camera Models Without WiFi
Now that you’ve got power and storage sorted, the next question is: which camera actually fits your spot? We’ve tested a handful of the most‑talked‑about units and boiled the data down to the bits that matter day‑to‑day.
What to compare
First, line up the basics – power source, local storage capacity, night‑vision reach, weather rating, and price. Those five columns let you see at a glance whether a model will survive a winter night on the porch or need a solar panel on the shed.
Side‑by‑side snapshot
| Model | Power | Storage | Night‑vision range | Price (USD) |
|---|---|---|---|---|
| CamX Pro | Battery (6‑month claim) | 64 GB micro‑SD | 30 ft (infrared) | $79 |
| SolarGuard 1080 | Solar + rechargeable battery | 128 GB micro‑SD | 45 ft (infrared) | $129 |
| SecureLite 640 | Wired 12 V DC | 64 GB built‑in | 25 ft (infrared) | $99 |
Those three cover the main power families you’ll see on the market. CamX Pro is the go‑to budget pick for a single spot like a front‑door mailbox. SolarGuard gives you freedom on a roof‑top or garden pole without ever swapping a battery, while SecureLite’s wired design is perfect for a garage or basement where you already have an outlet.
How to decide which one wins for you
Ask yourself three quick questions for each location.
- Do I have easy access to an outlet or sunlight?
- Will the camera sit in a spot that gets below‑freezing temperatures?
- How much footage do I need to keep before it loops?
If the answer to #1 is “yes, there’s an outlet,” wired SecureLite usually wins because you never worry about battery wear. If you’re on a shed roof with a clear sky, SolarGuard’s panel keeps the battery topped up and the 128 GB card lets you store a full month of motion clips.
When you’re dealing with a tight budget or a temporary mount – think a rental property where you’ll move the unit in a few months – CamX Pro’s battery‑only setup is cheap, easy, and still gives you solid 30‑foot night vision.
Real‑world testing tips
We like to run a “24‑hour sanity check” after installing any model. Set the camera to motion‑triggered mode, walk past it at different distances, and then pull the SD card to verify the timestamps line up with your phone’s clock. If the night‑vision glow looks washed out, tilt the lens a few degrees down; infrared works best when it’s not pointing straight up at the sky.
Another trick is to keep a spare micro‑SD card on hand. Swap it out every two weeks and compare the file‑size logs. A sudden jump usually means the camera is recording more than you expected – maybe a tree is swaying or a pet is pacing – and you can tighten the detection zone in the local menu.
There’s no one “best” camera; the winner is the one that matches the power reality, storage need, and budget of the spot you’re protecting. Use the table above as your quick reference, run a short field test, and you’ll end up with a security camera that stays silent when the Wi‑Fi dies, but never misses the moment that matters.
Price vs. performance trade‑offs
Battery‑only models like CamX Pro usually sit under $80 and give you a decent 30‑foot infrared range. The trade‑off is you’ll need to replace or recharge the pack every few months, especially if you live in a cold climate where the battery drains faster.
Solar‑powered units add a few hundred dollars to the sticker price because of the panel and the larger battery inside. In return you get virtually unlimited runtime and the larger 128 GB card means you can keep weeks of motion clips without swapping.
Wired cameras often land in the $90‑$110 band. They cost a bit more in installation time – you might need conduit or an electrician – but you gain consistent power, which translates to steadier night‑vision illumination and less wear on the storage media.
Quick decision checklist
- Power source available? (outlet, sun, or none)
- Desired storage length – days vs. weeks
- Night‑vision distance needed for your yard size
- Budget ceiling – under $100, $100‑$150, or premium
- Installation comfort – DIY mount vs. professional wiring
Pick the model that checks the most boxes for your situation, and you’ll have a security camera without wifi that works when you need it most.
Step 6: Test, Optimize, and Maintain Your System
Now that your camera is up and running, the real work begins: making sure it keeps doing what you need day after day.
Quick sanity check right after install
First, power on the unit and watch the status LED. A steady green usually means power, while a blinking amber signals boot-up. If nothing lights up, double‑check the polarity of the battery or the wiring.
Next, pull the micro‑SD card, pop it into your laptop, and confirm the camera recognizes it. Look for a folder named “DCIM” or similar – if the card shows “0 GB free,” it might be locked or the wrong class.
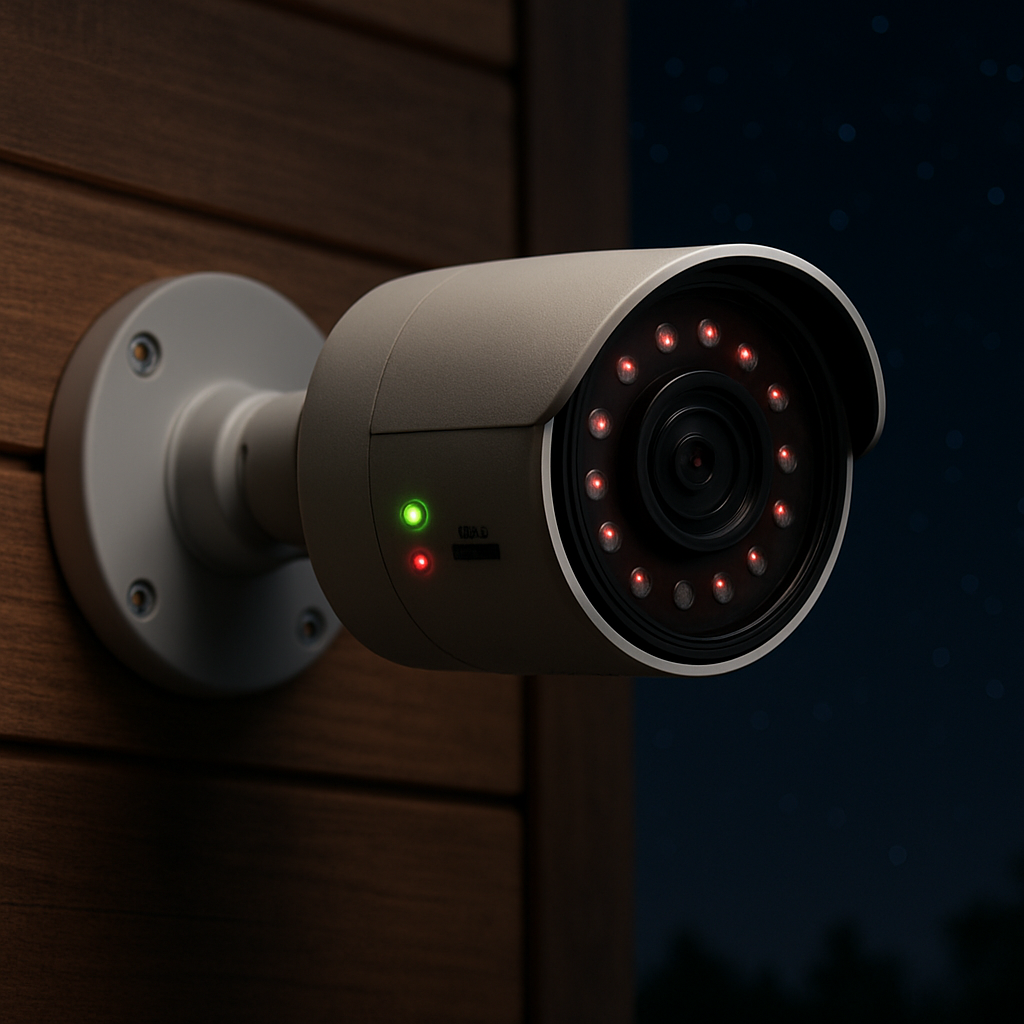
Finally, walk in front of the lens, pause, then check the recorded clip. You should see a clear image, a readable timestamp, and the night‑vision LEDs glowing softly if you tested after dark.
Fine‑tuning motion detection
Most battery‑run models let you draw zones on the tiny on‑device screen or via a companion app. Trim away street traffic, swaying trees, or a neighbor’s dog, and you’ll cut false alerts dramatically.
Tip: start with a high sensitivity, then watch the log for a day. If you get more alerts than you can handle, lower the threshold a notch. The goal is “just enough” – you want the camera to wake up for a delivery truck but stay silent when a leaf brushes the fence.
Optimizing power usage
If you chose a solar‑charged unit, make sure the panel gets at least six hours of direct sun. Tilt it about 30 degrees toward the equator and keep the surface clean; a dusty panel loses up to 20 % efficiency.
Battery‑only cameras benefit from a simple habit: set the recording mode to motion‑triggered and enable “low‑power sleep” during daylight if the model offers it. You’ll often see the battery life stretch from three months to six.
And don’t forget to turn off any unused LEDs or status lights – they’re tiny power hogs you rarely need.
Routine maintenance checklist
Mark your calendar for a quarterly walk‑through. Here’s what to look for:
- Inspect the mount and screws for looseness; a gentle shake will reveal any wobble.
- Check seals around power connectors – a crack in the silicone tape can let moisture in.
- Verify battery voltage with a multimeter or the app’s battery‑health readout.
- Swap the SD card to a fresh one or back up the footage to a USB drive.
- Clean the lens with a microfiber cloth; fingerprints blur night‑vision details.
Doing this every three months costs you a few minutes but saves a night of troubleshooting when the camera suddenly goes dark.
When things go wrong
Imagine you come home after a storm and the footage is blank. The first thing to do is check the power source – a dead battery or a tripped GFCI outlet is the usual suspect.
If power looks fine, pull the SD card and plug it into a computer. A corrupted file system will show an error; reformat the card to FAT32 and re‑insert it. Most cameras will automatically start a new recording session.
Still no luck? Look at the firmware version. Manufacturers often push fixes for night‑vision flicker or false motion. Updating is usually a one‑click process via the app or a USB stick.
And remember, you’re not alone. The Home security Ready community has a forum where members share the exact same hiccups and the fixes that worked for them.
By treating your camera like a small piece of hardware you’d service – test it, tweak the settings, and schedule regular checks – you turn a one‑time purchase into a dependable guardian that never misses a beat, even when the Wi‑Fi is down.
FAQ
Do security cameras without wifi need a constant power source?
Not always. Battery‑run units can sit on a shelf for months, especially if you stick to motion‑triggered recording. If you have an outlet nearby, a wired model removes the worry of dead batteries entirely. The trick is matching the power style to the spot’s climate and how often you expect the camera to be active.
How can I retrieve footage from a wifi‑free camera?
The video lives on a micro‑SD card you slot directly into the camera. Pull the card, pop it into a laptop or a card reader, and you’ll see folders of clips named by date and time. Some cameras also let you plug the unit into a USB‑C port for a quick dump without removing the card. Just remember to back up the files before you overwrite them.
What kind of SD card should I use for reliable storage?
Look for a Class 10 or UHS‑I card with at least 64 GB capacity for motion‑triggered setups. If you plan continuous 1080p recording, bump that up to 128 GB or even 256 GB to avoid frequent looping. Avoid “high‑capacity” cards marketed for phones; they sometimes use slower NAND that can cause missed frames. A reputable brand like SanDisk or Samsung will give you the endurance you need.
Will night‑vision work without an internet connection?
Absolutely. The infrared LEDs are built into the camera’s housing and draw power from the same source as the video sensor. As long as the unit has enough juice—battery or wired—it will illuminate the scene in total darkness. Just make sure the night‑vision range matches your yard size; a 30‑foot radius is fine for most front‑porch spots.
How often should I update the firmware on a non‑wifi camera?
Check the manufacturer’s website every few months or subscribe to their release notes if they offer an email list. Even without Wi‑Fi, you can apply the update via a USB stick or by connecting the camera to a laptop briefly. Updating fixes bugs like false motion alerts and can improve battery efficiency, so treat it like a seasonal tune‑up.
Can I still get motion alerts if the camera isn’t connected to Wi‑Fi?
Most wifi‑free cameras store motion events locally on the SD card, but they can’t push a push‑notification to your phone without an internet link. Some models let you set up a local alarm—like a buzzer or flashing LED—that sounds when motion is detected. If you need remote alerts, you’d have to pair the camera with a separate hub that has its own cellular or wired connection.
What are the common reasons a wifi‑free camera stops recording?
First, check the power source; a depleted battery or a tripped GFCI outlet is the usual suspect. Next, examine the SD card—corruption, a locked write‑protect tab, or a card that’s reached its write‑cycle limit can halt recording. Finally, verify the firmware version; outdated software sometimes freezes the motion engine. A quick power‑cycle and a fresh, properly formatted card usually bring things back to life.
Conclusion
We’ve walked through everything you need to feel confident picking, installing, and maintaining security cameras without wifi.
First, remember the core idea: match power to place, choose the right storage size, and fine‑tune motion zones so you get alerts only when it matters.
Second, treat the camera like a small piece of hardware you’d service – check the battery or wired feed every few months, swap the SD card on schedule, and keep the lenses clean.
And don’t forget the simple habit of updating firmware whenever the manufacturer releases a patch. Even without an internet connection you can apply the update via USB or a laptop, and it often fixes false‑motion glitches and improves battery life.
Key takeaways
- Power: wired for set‑and‑forget, battery for flexibility, solar when sun is abundant.
- Storage: 64 GB for motion‑only, 128 GB+ for continuous recording.
- Maintenance: quarterly seal checks, battery voltage reads, and card backups.
So, what’s the next step? Grab a spot on your checklist, pick the model that checks the most boxes, and run a quick 24‑hour sanity test. If it wakes up only when a car or a person passes, you’re good to go.
In the end, a well‑tuned, wifi‑free system gives you peace of mind even when the internet drops – and that’s the whole point of going off‑grid.